
Media Manager is the tool that you want to use when moving or copying an entire Final Cut Project. It copies and consolidates all media files associated with your project into a single folder within a chosen destination. Because an FCP project may utilize media located anywhere on the computer or server, simply dragging and dropping a Final Cut project from one destination to another does not always work.
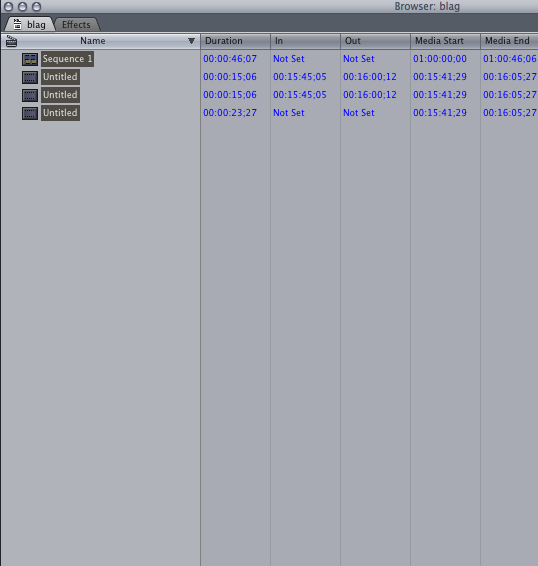
NOTE: Media Manager can only do one project tab at a time. In the following example we are only Media Managing the project tab called “blag.”
1. Select all (⌘A) clips and sequences within the Browser.
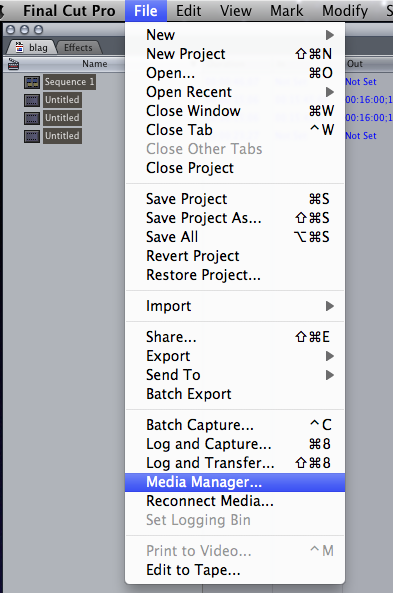
2. Go to File>Media Manager…
3. Set settings accordingly. I recommend the settings below. You want the green “Modified” bar at the same capacity as the green “Original” bar. I also recommend choosing the “Copy” function over “Move” or the others.
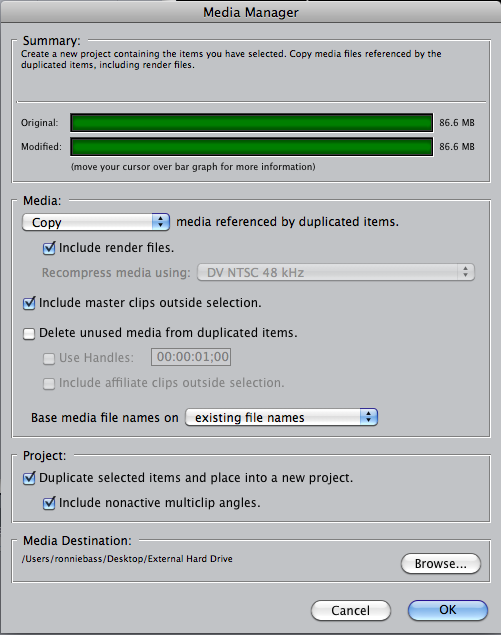
4. Browse for your desired destination for Media Manager to copy the project. Hit “OK.”
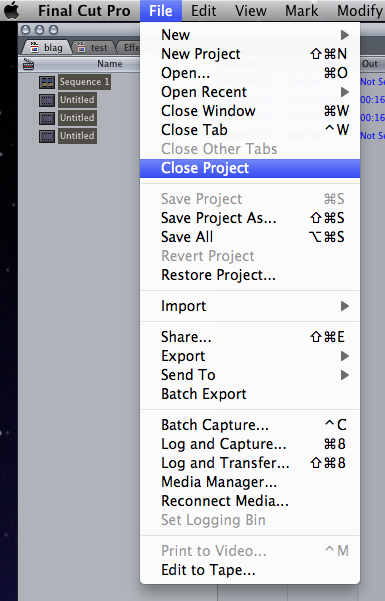
5. When the process is finished, close your project and when prompted; tell Final Cut that you want to save the project.

6. Find your new Media Managed project in the destination that you sent it to.
7. Open the project. Upon opening the project there will be no Timeline or Canvas. Double click on the sequence within the Browser to reveal the Timeline and Canvas.
I strongly recommend testing the project on a different computer before trashing the original project.