In my AWS accounts, when I’m first setting up an EC2 instance, I will chose an on-demand instance while I set things up – I frequently have changes in requirements as I install or find out about my user’s requirements, so I adjust the instance size accordingly. Once the server is stable, however, it makes sense to convert to a reserved instance for cost savings.
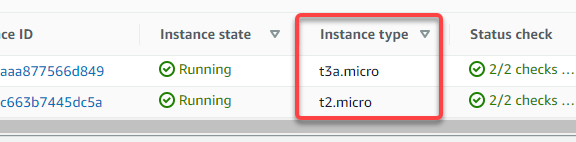
Let’s take a look at a couple instances I’ve had for a few months now, they are both on demand, and I want to convert to reserved to save on my annual costs.
In the EC2 dashboard, on the left click “Reserved Instances” and then “Purchase Reserved Instance”. This brings up a search filter to shop for instances
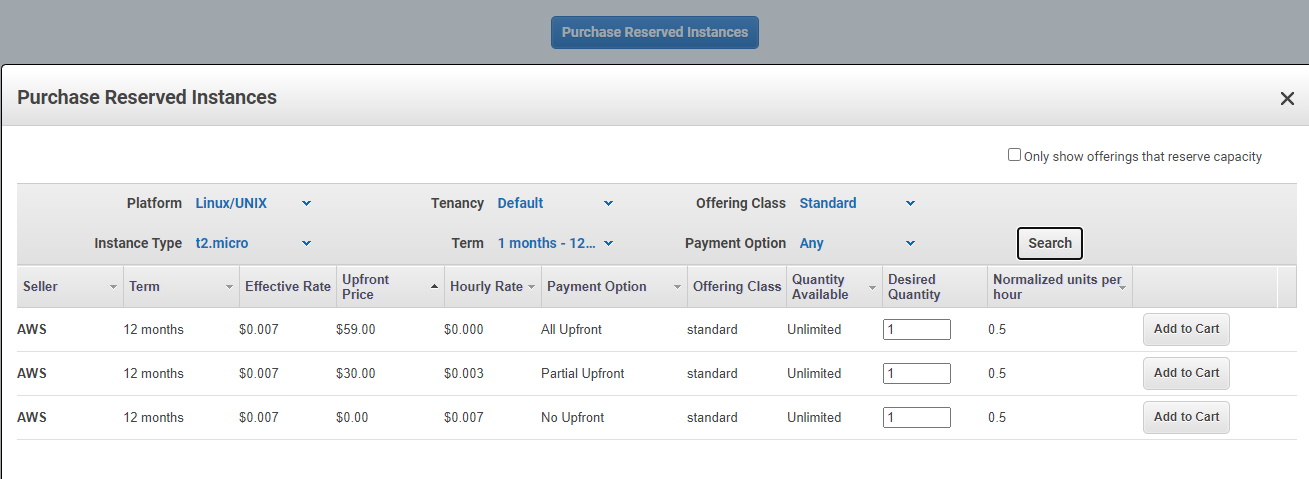
There are options to pay it all upfront for a slightly greater savings, or spread out the cost over the year. (The effective rate in this screenshot looks identical, but there’s a fractional difference with all upfront vs hourly – it’s more obvious with larger instances.)
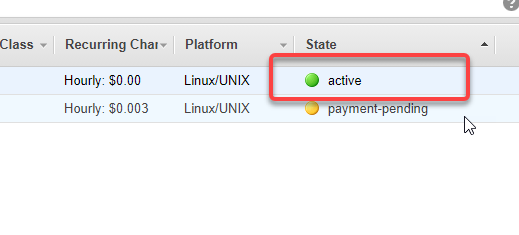
After adding to cart and completing the checkout, you now have your reserved instance(s).
Great, so now what – how do I assign it to my instance? Well, that’s really the end! Reserved instances are simply a billing practice, so there’s nothing left for you to do – as long as you have an instance of the same type, you’re getting the benefits of the reserved instance.
In my original example, I had one t3a.micro, on which the new billing will be applied, and one t2.micro. I purchased two Reserved t3a.micro, but only one is being applied – I need to switch my t2 to a t3a in order to get the billing benefits.
I now have two t3a.micro reserved instanced, and two t3a.micro EC2 instances running, so I’m all set for a year. Note that the instances don’t auto-renew, so next year I will have to purchase a reserved instance again.